Choosing the right fluorophores for microscopy-based research is critical for accurate results
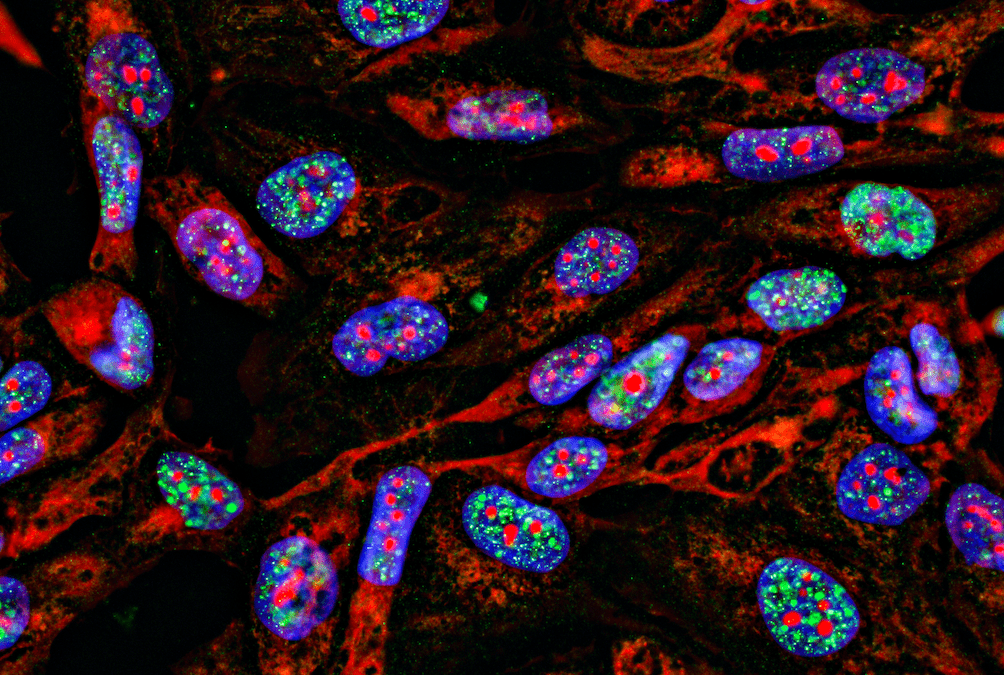
Using fluorescent reagents for microscopy-based research offers several advantages. Not only does fluorescent detection enable multiplexing, which can be especially useful when studying co-localized targets, but it has a broad dynamic range that lets researchers visualize both rare and abundant antigens in the same sample. In addition, fluorescent detection provides the ability to quantify target expression using appropriate imaging software and can simplify experimental workflows by eliminating the need to use chromogenic substrates. When performing microscopy-based immunofluorescence (IF) techniques such as immunocytochemistry (ICC) and immunohistochemistry (IHC), fluorophore selection is an essential part of experimental design. Here, Bio-Rad and Bio-Techne share tips for selecting and using fluorophores for these types of studies, including guidance for multicolor detection.
What is the difference between ICC, IHC, and IF?
While the principles of ICC, IHC, and IF are quite similar, they do have unique features and it is important that the different terms are used correctly. “ICC is an immunoassay imaging technique that uses antibodies for detecting targets of interest in cells,” explains Emily Cartwright, Ph.D., Senior Product Marketing Specialist, Antibodies at Bio-Techne. “The types of samples that are analyzed by ICC include adherent cells that have been cultured in a microplate and suspension cells that have been smeared onto a glass slide. IHC is another common immunoassay application. However, it differs from ICC in that it is used for detecting antigens in tissue sections instead of cells. IF refers to a detection method that uses fluorophore-labeled antibodies and can be applied for both ICC and IHC, as well as for other immunoassay techniques such as western blot, flow cytometry, and ELISA.”
Tips for Fluorophore Selection
Choosing suitable fluorophores for ICC and IHC is critical to accurately identify analytes of interest. According to Mike Blundell Ph.D., Global Product Manager at Bio-Rad, factors to consider for fluorophore selection include the microscope settings, antigen characteristics, and key fluorophore properties, as well as whether to perform direct or indirect detection. “Direct detection can shorten experimental workflows by removing the need for a secondary antibody incubation step,” he says. “It can also simplify multiplexing by letting you use several antibodies from the same host species simultaneously. However, indirect detection can provide signal amplification, meaning it is often preferred when studying scarce targets.”
With these points in mind, here are our top five tips for fluorophore selection:
-
Check Your Microscope Settings
One of the first steps when designing an ICC or IHC experiment should be to familiarize yourself with your imaging system. “Specifically, you will want to determine which excitation and emission filter sets your imaging system is equipped with since this will allow you to select compatible fluorophores,” explains Blundell. “For example, a 525/50 bandpass filter will let through light with wavelengths in the 500 – 550 nm range and is sometimes referred to as the FITC filter since the emission maximum of FITC is 525 nm. However, this does not mean that it can only be used with FITC – other dyes with similar emission maxima can also be used with this filter, including Alexa Fluor® 488, GFP, and DyLight® 488.” To understand how the spectral properties of different fluorophores align with the instrument being used, researchers can consult a Spectra Viewer.
-
Understand Your Target of Interest
Knowing the abundance of your target of interest is key when assigning fluorophores, particularly when performing multiplexed detection. “Researchers are advised to categorize antigens according to their relative expression in the samples to be tested,” reports Cartwright. “This allows for assigning bright fluorophores to low abundance antigens, and vice versa.” The brightness of a fluorophore is determined by the extinction coefficient, which is the probability of the fluorophore absorbing a photon of light at a given wavelength, and the quantum yield, which refers to the number of photons emitted per absorbed photon. The higher these values, the brighter the fluorophore. “It is also important to understand where in the cell the target is expressed,” Cartwright adds. “Although detecting cell surface markers is usually straightforward, detecting intracellular targets will require that samples be permeabilized.”
-
Look for Fluorophores That are Resistant to Photobleaching, Alcohols, and pH
Conventional fluorophores such as FITC and R-Phycoerythrin are susceptible to photobleaching. The use of acidic buffers and alcohol-containing reagents can also impact the fluorescence of many traditional dyes. “To better preserve fluorescent signals during ICC and IHC, researchers may wish to consider switching from conventional fluorophores to using more modern dyes,” suggests Blundell. “For example, the StarBright dyes are highly photostable and can be fixed in paraformaldehyde or alcohol-based fixatives with no drop in signal. They can also be premixed for up to 6 months for use at a later date.”
-
Take Steps to Minimize Spectral Overlap When Multiplexing
Spectral overlap, also known as bleed-through or spillover, is a term that describes the unwanted detection of one fluorophore’s signal in the filter set of another fluorophore. It can also result from autofluorescence, which typically occurs in the 350-550 nm range. “Spectral overlap should always be minimized to avoid complicating the interpretation of results,” cautions Cartwright. “This is best achieved by using a Spectra Viewer to visualize the excitation and emission spectra of different fluorophores during product selection.” As part of this process, don’t forget to consider your counterstain – this should be spectrally distinct from the other fluorophores in your staining panel.
-
Include Relevant Controls to Verify Results
Once fluorophores have been assigned to their targets, it is essential to verify the observed fluorescence using relevant controls. These should include biological controls to confirm that any differences between positive and negative sample types are specific, and controls for background staining and autofluorescence to identify potential sources of any unexpected fluorescence. The latter are easily generated by treating the sample per the protocol but omitting the addition of fluorophore-conjugated antibodies. “If secondary antibodies will be used for indirect detection, researchers are advised to run secondary antibody-only controls to rule out non-specific secondary antibody binding,” notes Blundell. “For multicolor IF experiments, using cross-adsorbed secondary antibodies will minimize the risk of these binding to off-target primary antibodies.”
Supporting your ICC and IHC studies
Whatever the goal of your fluorescence microscopy-based research, FluoroFinder offers a suite of tools to simplify fluorophore selection and experiment design. Our Fluorescent Dye Database is a great resource to discover new fluorophores and their spectral properties, or check out our Spectra Viewer for microscopy to visualize fluorophores compatible with your laser and filter configuration.
You may also wish to check out the resources of our partners, including Bio-Rad’s IHC-P Tips and Tricks eBook and Bio-Techne’s IHC Handbook, ICC Handbook and Fluorochrome Selection Blog.
Sign-up for our eNewsletter to receive regular updates about ICC, IHC, and other fluorescence-based techniques, and be among the first to hear about the latest products


